


Easy DIY Projects Anyone Can Complete in a Weekend: Home Decor, Organization, and Space-Saving Ideas
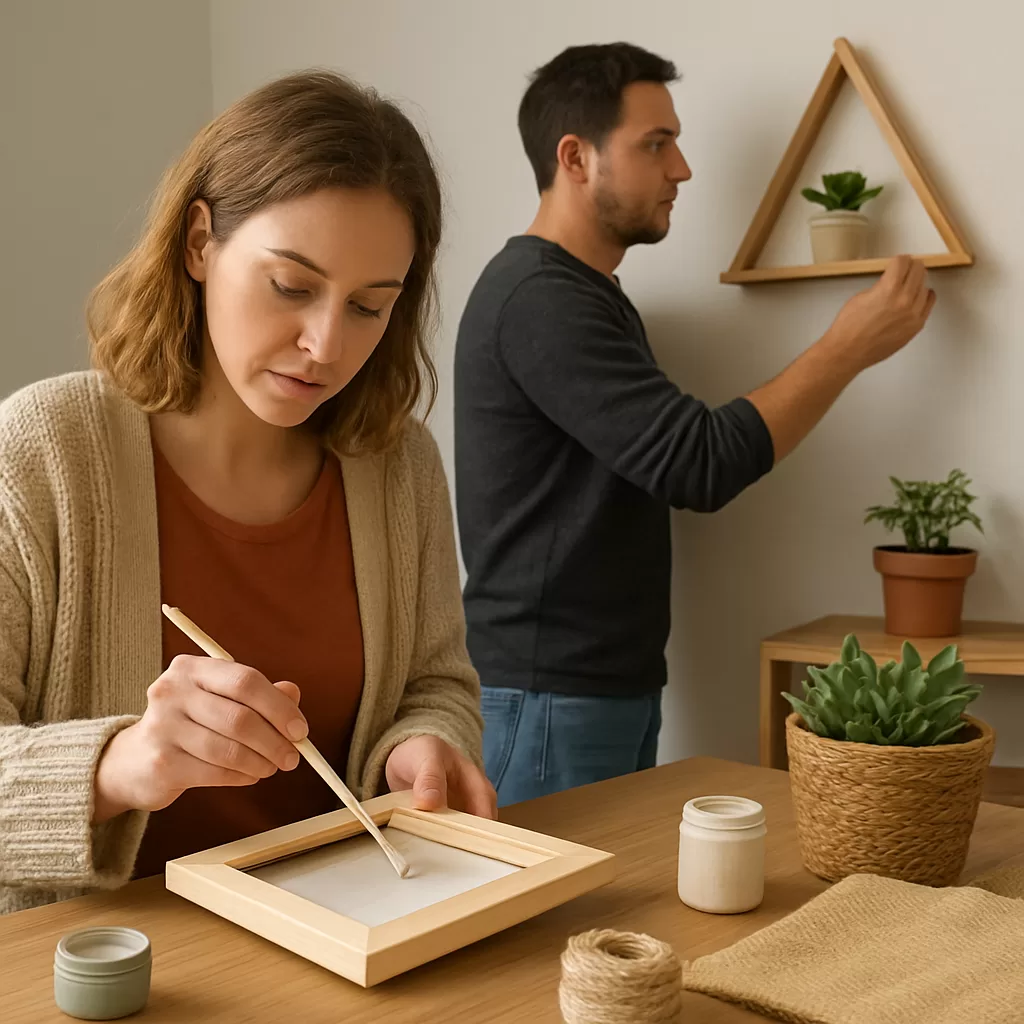
Transforming your living space doesn’t have to be expensive or complicated. With a few simple materials and a bit of creativity, you can create stylish home decor, improve organization, and save space with inexpensive DIY projects. These projects are perfect for a weekend and require no special tools, so anyone can achieve professional-looking results. Let’s dive into three practical and visually engaging projects that you can finish quickly and affordably.
1. Floating Shelves for Stylish Storage
Why Floating Shelves?
Floating shelves are a fantastic way to add storage and decor to any room without taking up floor space. They’re simple to make and look modern and sleek.
Materials Needed
- Wooden boards (1″x6″x24″) — about $10 each
- L-brackets and screws — $5 total
- Sandpaper — $3
- Paint or wood stain (optional) — $5
- Wall anchors — $3
Estimated Cost: Around $20 per shelf
Step-by-Step Instructions
- Choose Your Boards: Pick wooden shelves that fit your space. Sand the edges and surface smooth.
- Paint or Stain: Apply a coat of paint or wood stain. Let dry completely.
- Attach Brackets: Mark the wall where you want to hang the shelf, level the markings, and install wall anchors. Screw in the L-brackets.
- Mount the Shelf: Place the wooden board on the brackets and secure underneath with screws.
Before-and-After Transformation
Before: Blank wall with cluttered items.
After: Clean, organized wall with floating shelves neatly holding decor, plants, and books.
Pro Tips
- Use a level to ensure shelves are straight.
- Choose brackets that match the color of the shelf for a minimalist look.
- Measure twice to guarantee proper placement.
2. DIY Pegboard Organizer for Clutter Control
Maximizing Vertical Space
Pegboards offer a versatile solution for organizing tools, craft supplies, or kitchen utensils. They are money-saving and visually pleasing.
Materials Needed
- Pegboard panel (16″x20″) — $10
- Spray paint (optional) — $5
- Peg hooks — $5 for a set
- Frame molding (optional) — $5
- Adhesive strips or screws — $3
Estimated Cost: Around $20
Step-by-Step Instructions
- Prepare the Pegboard: Spray paint the pegboard in the color of your choice. Let dry fully.
- Attach Hooks: Arrange peg hooks according to your organizational needs.
- Frame (Optional): Attach molding around the edges to give a polished look.
- Mount on Wall: Use adhesive strips or screws to attach the pegboard securely on the wall.
Before-and-After Transformation
Before: Messy countertop or drawer full of miscellaneous items.
After: Neatly hung tools or accessories with everything easily visible and accessible.
Pro Tips
- Customize hook placement depending on your item sizes.
- For heavier items, use screws for mounting for extra stability.
- Group materials by category to enhance usability.
3. Under-Bed Storage Drawers for Space Efficiency
Smart Storage Solution
Utilizing under-bed space is an excellent way to keep your room tidy. This project involves making simple storage drawers from plastic bins enhanced with custom labels.
Materials Needed
- Plastic storage bins with wheels — $10 each
- Contact paper or paint for decoration — $5
- Removable adhesive labels — $3
- Optional: Decorative handles — $4
Estimated Cost: $20-$25 for two drawers
Step-by-Step Instructions
- Select Bins: Choose bins that fit comfortably under your bed.
- Decorate: Cover bins with contact paper or paint for a cohesive look.
- Label: Attach labels describing contents.
- Add Handles (Optional): Affix decorative handles with glue or screws for easy pulling.
Before-and-After Transformation
Before: Under-bed area unused or cluttered with random items.
After: Stylish, organized drawers providing hidden storage and easy access.
Pro Tips
- Measure your bed’s clearance precisely.
- Use clear bins if you want to quickly spot contents without opening.
- Label the bins clearly to save time searching.
Final Thoughts
These easy DIY projects allow you to upgrade your home decor, organize clutter, and save space affordably and efficiently. You don’t need special tools or advanced skills, just a weekend and a bit of enthusiasm. The key to a professional look is precise measuring, selecting coordinating colors, and neat finishes. Start with one project, see the transformation, and gain the confidence to tackle more. Your home will thank you for it!
Happy DIY-ing!


