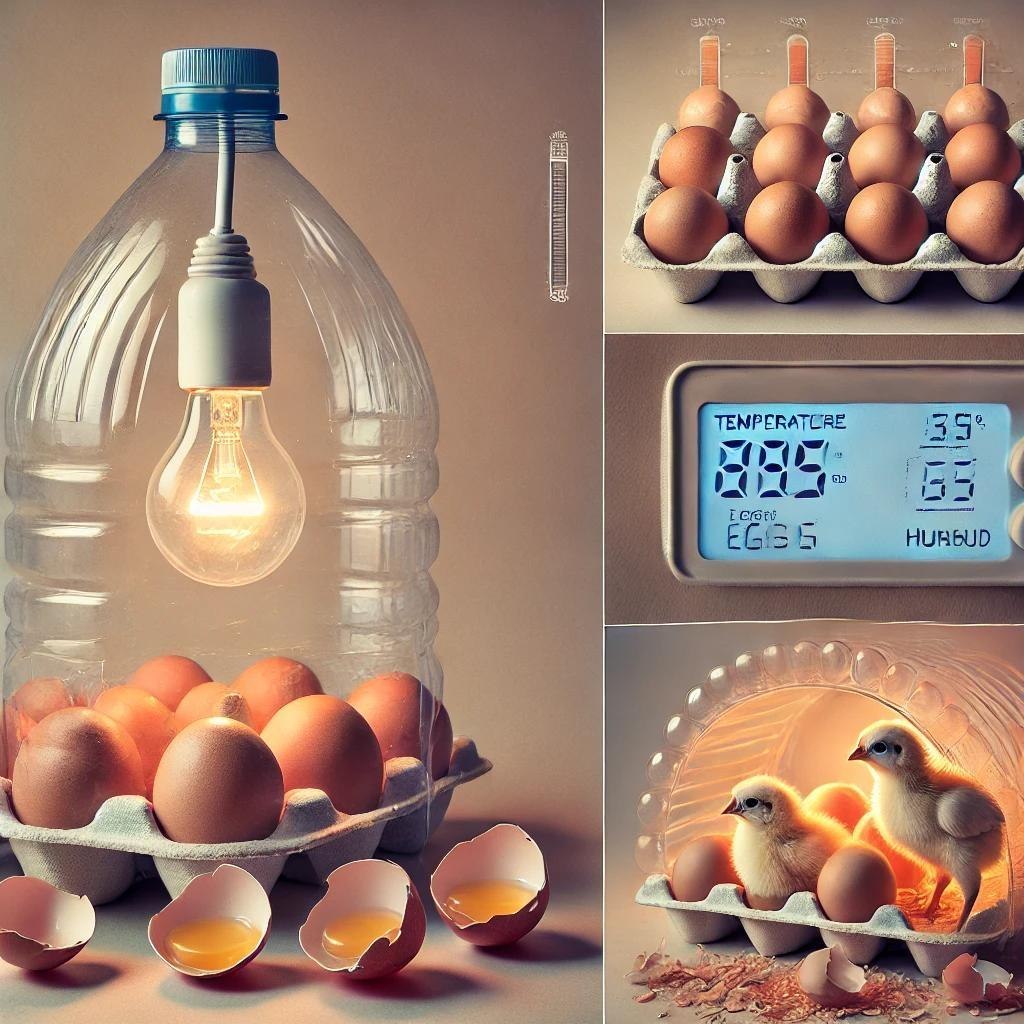
Embarking on the journey of hatching your own chicks can be both exciting and rewarding. While commercial incubators are available, they can be costly. Fortunately, with some creativity and basic materials, you can construct a functional egg incubator using a simple water bottle. This guide will walk you through the process, ensuring you understand the essentials of incubation and how to maintain the optimal environment for developing embryos.Pinterest
Understanding Incubation Basics
Before building your incubator, it’s crucial to grasp the fundamental requirements for successful egg incubation:
- Temperature: Maintain a consistent temperature around 99.5°F (37.5°C).
- Humidity: Keep humidity levels between 40-50% for the first 18 days, increasing to 65-70% during the final days before hatching.
- Ventilation: Ensure proper air circulation to supply oxygen and remove carbon dioxide.
- Egg Turning: Turn eggs at least three times daily to prevent the embryo from sticking to the shell.
Materials Needed
To construct your homemade incubator, gather the following items:
- Large plastic water bottle (2 or 5-gallon size)
- Egg tray or foam padding
- Thermometer and hygrometer
- 40-60 watt incandescent light bulb with socket
- Small computer fan (optional for ventilation)
- Plastic or duct tape
- Small containers for water
- Thermal insulation material (e.g., Styrofoam or bubble wrap)
- Fertilized eggsPăsări de curte+2MorphMarket Reptile Community+2Păsări de curte+2Păsări de curte+2Păsări de curte+2Păsări de curte+2
Step-by-Step Construction Guide
- Prepare the Bottle: Clean the water bottle thoroughly. Cut a rectangular window on the side to allow access and observation.
- Install the Heat Source: Mount the light bulb inside the bottle, ensuring it’s securely fixed and doesn’t touch the sides. This bulb will provide the necessary heat.Facebook
- Set Up Ventilation: If using a fan, position it to circulate air evenly. Drill small holes near the top and bottom of the bottle to facilitate airflow.
- Place Water Containers: Position small containers filled with water inside the bottle to maintain humidity levels. Adjust the number and size of containers as needed.
- Add Insulation: Wrap the bottle with thermal insulation material to help retain heat and maintain a stable internal temperature.
- Insert Thermometer and Hygrometer: Place these instruments inside the incubator to monitor temperature and humidity accurately.
- Arrange the Eggs: Place the fertilized eggs on the egg tray or foam padding, ensuring they are spaced evenly and not touching each other.
- Seal the Incubator: Use plastic or duct tape to seal any gaps, ensuring the internal environment remains stable.
Monitoring and Maintenance
- Temperature Checks: Regularly monitor the temperature, making adjustments to the bulb’s wattage or insulation as necessary.
- Humidity Control: Observe humidity levels, adding or removing water containers to achieve the desired range.
- Egg Turning: Manually turn the eggs at least three times daily, marking them to keep track of rotations.
- Ventilation: Ensure air holes remain unobstructed, and the fan (if used) operates correctly.
Hatching Process
Around day 18, stop turning the eggs and increase humidity to prepare for hatching. Chicks typically hatch between days 19 to 24. Avoid opening the incubator during this period to maintain stable conditions.Facebook
Conclusion
Creating a homemade egg incubator using a water bottle is a cost-effective and educational project. By understanding the principles of incubation and carefully monitoring the environment, you can successfully hatch chicks and enjoy the rewards of your efforts.


